
Setting Up Your GoTroppo Modem
Welcome to the GoTroppo crew! Follow this guide to get your modem connected and your home online in minutes.
Good news! GoTroppo uses IPoE (IP over Ethernet) – the modern, simple way to connect. No username or password required! Your modem just needs to connect and it will automatically get online.
Choose Your Modem
Select your modem below for specific setup instructions:
TP-Link HX510
Mesh Modem
Perfect for 5-6 bedroom homes
WiFi 6 | Expandable Coverage
Step 1: Download the Aginet App
Both GoTroppo modems use the Aginet app for easy setup and management. Download it now:
iOS Users: After installing, go to Settings > Privacy & Security > Local Network and make sure Aginet has permission to access your local network. This is required for setup.
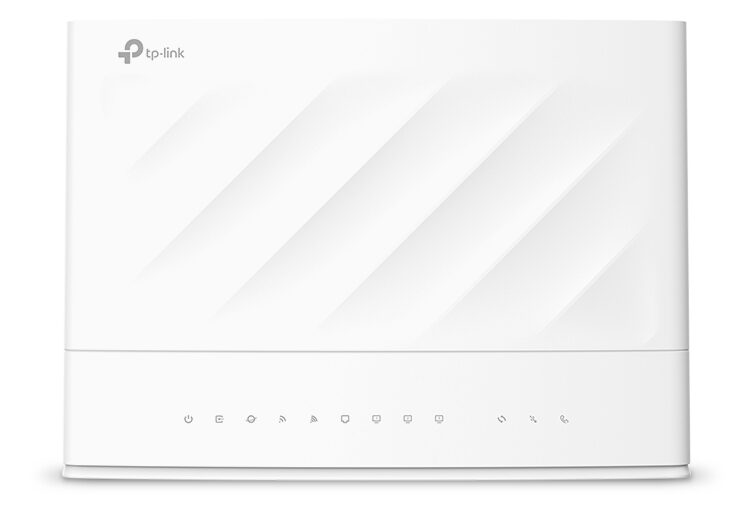
TP-Link VX230v Setup Guide
Select your modem below for specific setup instructions:
What’s in the Box
- TP-Link VX230v Modem Router
- Power adapter (12V/2.0A)
- Ethernet cable (RJ45)
- Phone cable (RJ11)
- DSL splitter
- Quick Installation Guide
Physical Connection – Choose Your NBN Type
Your connection method depends on your NBN technology type. Not sure what you have? Check your NBN connection box or the confirmation email from GoTroppo.
FTTP, HFC, or Fixed Wireless
Use the Ethernet cable:
- Connect one end to the UNI-D port on your NBN box
- Connect the other end to the LAN4/WAN port (yellow) on the modem
- Plug in the power adapter
FTTC (Fibre to the Curb)
Use both cables:
- Connect phone cable from wall socket to NBN Connection Box
- Connect Ethernet from the Gateway port on NBN box to LAN4/WAN on modem
- Plug in the power adapter
FTTN or FTTB
Use the Phone cable:
- Connect phone cable from your wall socket to the grey DSL port on the modem
- Plug in the power adapter
- Wait 5 minutes for DSL sync
VX230v LED Light Guide
LED Light | Solid Green | Flashing | Off |
|---|---|---|---|
Power | Modem is powered on | Starting up | No power – check connection |
DSL | Line synced (FTTN/FTTB only) | Trying to sync | No DSL connection (normal for FTTP/HFC) |
Internet | Connected to internet | Connecting | No internet – contact support |
2.4G | WiFi enabled | Data transfer | WiFi disabled |
5G | WiFi enabled | Data transfer | WiFi disabled |
Wait 2-3 minutes after connecting for the lights to stabilise. The Internet light should be solid green when connected.
Connect Using the Aginet App
Connect to your modem’s WiFi
On your phone, go to WiFi settings and look for a network called “TP-Link_XXXX” or “WiFi-XXXXXX“.
The WiFi name and password are printed on the label on the bottom of your modem.
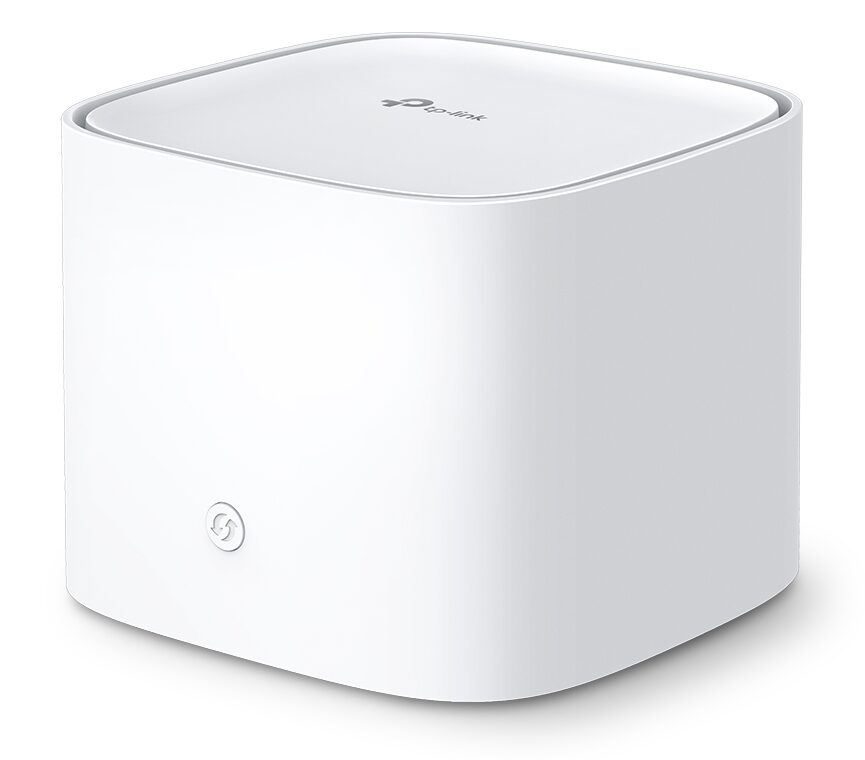
TP-Link HX510 Mesh Modem Setup Guide
What’s in the Box
- TP-Link HX510 Mesh Unit(s)
- Power adapter (12V/1.5A)
- Ethernet cable (RJ45)
- Quick Installation Guide
VX230v LED Light Guide
LED Colour | Status | What It Means |
|---|---|---|
Flashing Blue | Ready for Setup | Device is ready to be configured via the Aginet app |
Solid Blue | Connecting | Device is connecting to the network |
Solid White/Green | Connected | Successfully connected and working – you’re online! |
Flashing Red | Connection Error | Move the device closer to your main router or NBN box |
Setting Up Your First HX510 Unit
Connect to your NBN box
Use the Ethernet cable to connect from your NBN box’s UNI-D port to any of the HX510’s ports (they work as both WAN and LAN).
Then plug in the power adapter and wait for the LED to flash blue.
Adding Extra Mesh Units for Whole-Home Coverage
The HX510 mesh system lets you add additional units to extend WiFi coverage throughout your home. Each unit connects wirelessly to create one seamless network.
To add a mesh unit:
- Place the additional HX510 in the desired location (within range of the main unit)
- Plug in the power adapter and wait for the LED to flash blue
- Open the Aginet app and go to your network dashboard
- Tap the + (plus) icon or “Add Agent” button
- Follow the on-screen prompts – the app will discover the new unit
- Select a room/location name for the new unit
- When the LED turns solid white/green, setup is complete
If the LED keeps flashing red, move the new unit closer to the main unit and try again.
Using the Web Portal (Desktop Setup)
Prefer to set up your modem from a computer? You can access the modem settings through a web browser.
For VX230v:
- Connect your computer to the modem via WiFi or Ethernet cable
- Open a web browser
- Go to http://tplinkmodem.net or http://192.168.1.1
- Login with password: admin (or admin1)
- Use the menu to navigate to Wireless settings
For HX510:
- Connect your computer to the mesh network via WiFi or Ethernet
- Open a web browser
- Go to http://tplinkwifi.net or http://192.168.0.1
- Create a login password on first access
- Configure your network settings
Customising Your WiFi Network
Once connected, you’ll want to personalise your WiFi name (SSID) and create a secure password.
Via the Aginet App:
- Open the Aginet app and select your modem
- Go to Wireless or WiFi Settings
- Tap on the network name (SSID) to change it
- Tap on the password field to set a new password
- Save your changes
- Reconnect your devices using the new credentials
Password Tips:
- Use at least 12 characters
- Mix uppercase, lowercase, numbers, and symbols
- Avoid personal information like names or birthdays
- Don’t reuse passwords from other accounts
Troubleshooting
My modem won’t connect to the internet
- Check all cable connections are secure
- Power cycle your modem – unplug for 30 seconds, then plug back in
- Wait 3-5 minutes for the connection to establish
- Ensure the Internet LED is solid green (VX230v) or white (HX510)
- If still not working, contact GoTroppo support
I can’t find the Aginet app
The Aginet app should be available on both the App Store and Google Play. If you can’t find it:
- Search for “TP-Link Aginet” (not just “Aginet”)
- Make sure your phone meets the minimum requirements (iOS 13+ or Android 7+)
- Scan the QR code on your modem’s quick installation guide
I forgot my modem password
You can reset your modem to factory settings:
- Find the RESET button (small hole on the back)
- While the modem is powered on, press and hold for 5-10 seconds using a paperclip
- The modem will restart – wait 2-3 minutes
- Reconnect using the default WiFi name and password on the modem label
Note: This will reset all settings to factory defaults. Your internet will still work (GoTroppo uses IPoE – no username/password needed), but you’ll need to reconfigure your WiFi name and password.
HX510 mesh unit shows flashing red light
A flashing red light means the mesh unit can’t connect to the main router. Try:
- Move the unit closer to your main HX510 or VX230v
- Make sure the main unit is working and has a solid white/green LED
- Power cycle the mesh unit
- Try removing and re-adding the unit in the Aginet app
Can I use VX230v and HX510 together?
Yes! The VX230v and HX510 are both EasyMesh compatible, meaning you can use the VX230v as your main modem and add HX510 units to extend coverage throughout your home. Both use the Aginet app for management.
Need More Help?
We’re here to help you get connected! If you’re still having trouble, our friendly support team can assist.